 Dedicated Support Team

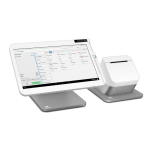
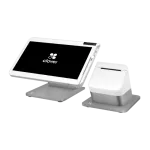
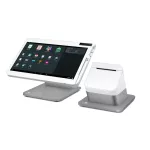
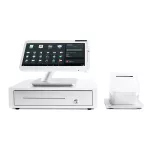
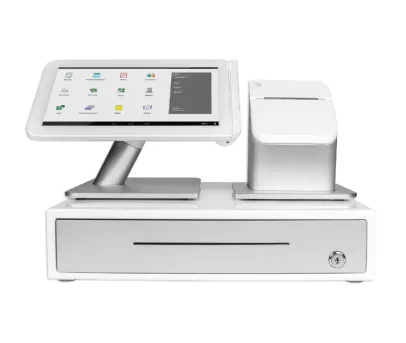
The Clover Station Solo Bundle with a P500 Printer is the ultimate point-of-sale solution for your business. Developed with the latest Clover Station 2018 technology, including a compatible cash drawer and customer-facing printer, this bundle offers a sleek design and powerful features to enable smooth transactions and efficient operations. The Clover Station basic point-of-sale system includes essential components like the check-out station and barcode scanner, making it ideal for restaurant and retail environments. From accepting payments to managing inventory, the Clover Station Solo Bundle streamlines your business processes, ensuring seamless customer experiences.
Ethernet, WiFi, or 4G/LTE connection capabilities allow you to have backup connectivity options and uninterrupted processing.
Equipped with a high-speed thermal receipt printer for your and/or your customers’ records.
Accepts magstripe cards, EMV chip cards, and contactless payments like Apple Pay and Google Pay.
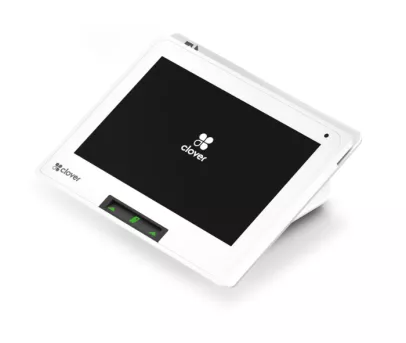
Complete with a 14-inch HD tiltable display, this modern point-of-sale system will not only impress your customers but also enhance your reporting capabilities.
Two 5-megapixel cameras for easy barcode scanning will save you and your customers time at the register.
Handle your business worry-free with built-in security features like fingerprint login so only authorized users can access the terminal.
The Clover Station Solo Bundle combines cutting-edge technology and a user-friendly design to revolutionize your business operations. It allows you to accept payments effortlessly, accurately manage inventory, and generate detailed reports for better decision-making. Its compact design saves counter space while providing powerful performance. Featuring a chip reader, an impressive display, fingerprint login, dual cameras with a scanner, screen protector, and weight scale compatibility, and contactless payment options, including Apple Pay and tap-to-pay, this bundle ensures seamless transactions, empowering your business to thrive in any market.
Clover hardened version of Android (AOSP) 10.0 (API Level 29, Q)
19"x 13"x 12";15 lbs.
Ethernet, Wi-Fi, 4G LTE
EMV chip card reader and MSR reader
Hard Plugin
Qualcomm® Snapdragon™ 660 octa-core processor
Hub with four USB device ports, two RJ11 cash drawer ports 12-V charging port for a Clover Flex
2-GB RAM, 16-GB Flash
5 MP camera for 1D and 2D barcode scanning
High-speed thermal dot printer
3 1/8" x 230'
One 14” merchant-facing display with a 1920x1080 resolution that tilts to accommodate different heights
N/A
N/A
Apple Pay, Google Pay, Samsung Pay, Android Pay, Visa payWave, MasterCard PayPass
Cash Discount and Surcharge
N/A
This device complies with Part 15 of the FCC Rules. This equipment has been tested and found to comply with the limits for a Class B digital device, pursuant to part 15 of the FCC Rules. This equipment complies with the FCC RF radiation exposure limits set forth for an uncontrolled environment.
March 10, 2022
The Clover Station Solo is a complete point-of-sale system that allows users to handle payments, operations, and management.
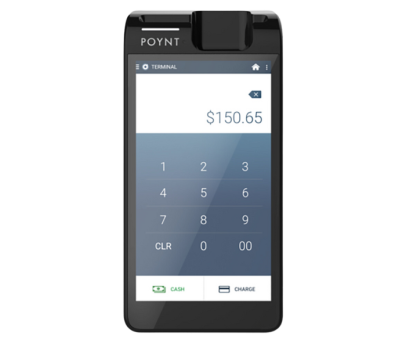
Yes, you can add a Clover Flex to the Station Solo bundle. If you need help adding the Flex to your Station Solo, contact your business consultant through the phone number at the top right corner of the screen on your Station.
Yes, the Clover Station Solo accepts contactless payments, including Apple Pay.
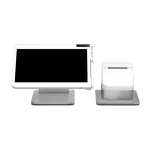
The Clover Solo and Duo both have 14” high-definition displays, but the Solo is tiltable, while the Duo is a merchant-facing touch-screen and comes with an 8” customer-facing touch-screen. The Duo also comes with a virtual keypad for entering your PIN.
To turn on the Clover Station Solo, connect each cash drawer cable to the bottom of each cash drawer. Then, connect all the cords to the receipt printer before plugging the device into a power outlet. Do this by flipping the printer so you’re looking at the bottom. Starting at the far left, insert the power cord first, then the display cable. The cable with the green sticker with the printer icon goes into the green-labeled port, the ethernet cable with the purple sticker goes into the purple-labeled port, and the cash drawer cable with the blue sticker goes into the blue-labeled port. Flip the touchscreen display upside down and remove the plastic feet protectors. Then, plug the display cable connected to the receipt printer into the bottom of the display. Select the language you’ll use, and follow the setup wizard to activate the device.
$679.00 – $939.60
Original price was: $299.00.$0.00Current price is: $0.00.
Original price was: $119.00.$0.00Current price is: $0.00.
$2,068.44